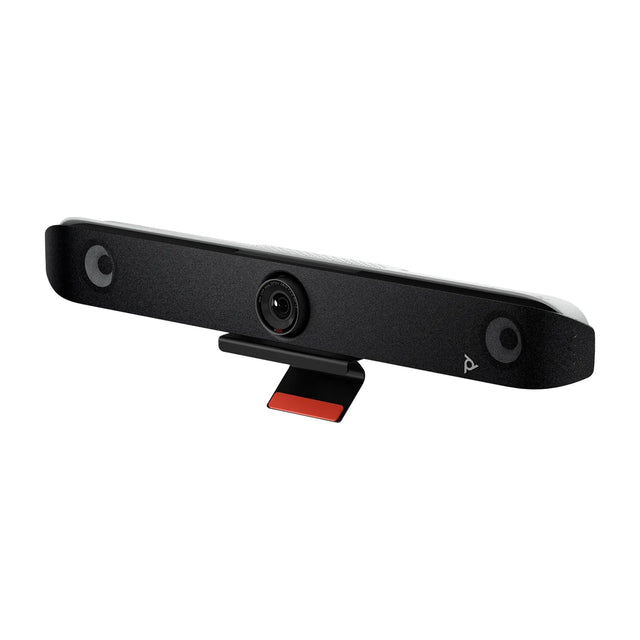
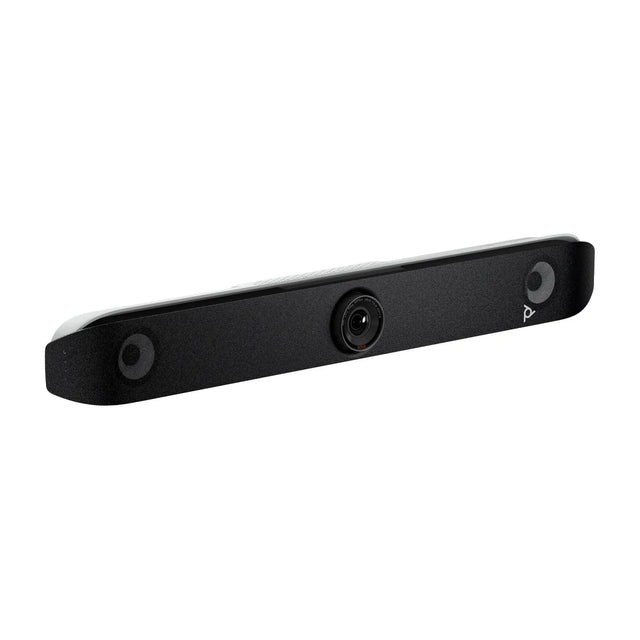
To convert a conference room to Microsoft Teams Rooms, choose certified Teams Rooms hardware sized for the room, create a resource account in Microsoft 365, assign it a Teams Rooms Basic or Pro license, install and network the devices, sign them in with the room account, and test one-touch join. Existing displays can usually stay; existing cameras and mics only stay if they're certified for the new system.

Step by step
- Survey the room. Measure the room, count seats, note the display size and location, network jacks, power and table grommets. See conference room size.
- Choose Windows or Android. Teams Rooms on Windows uses a room PC with USB peripherals; Teams Rooms on Android runs on the video bar. See Teams Rooms Windows vs Android.
- Pick certified hardware. Use Microsoft-certified devices only. See Teams Rooms certified devices and best Microsoft Teams Rooms devices.
- Decide what to reuse. Commercial displays usually carry over. Old cameras, speakerphones and codecs usually don't, unless they're on Microsoft's certified list.
- Create a resource account. Set up a room mailbox in Exchange Online with calendar processing settings so it auto-accepts invites and keeps meeting details. See Teams Rooms resource account.
- Assign a license. Teams Rooms Basic (limited free licenses per tenant) or Teams Rooms Pro (more features and management). Pricing changes, so check Microsoft's current terms. See Teams Rooms Basic vs Pro and assign a Teams Rooms license.
- Prepare the network. Wired Ethernet, PoE for touch controllers and panels, and firewall rules for Teams. See Teams Rooms network requirements.
- Install the hardware. Mount the bar or camera at the display, place the touch controller and any expansion mics, route cables through grommets. See how to mount a camera above a TV.
- Sign in. Sign the room device in with the resource account, or use remote provisioning from the Teams Admin Center.
- Update and configure. Install firmware and app updates; set camera framing, default volume and content sharing options.
- Add a scheduling panel (optional). A panel outside the door like the Logitech Tap Scheduler shows availability. See Teams Rooms panels.
- Test. Book a meeting with the room, join with one touch, share content, call in from outside and check audio from every seat.
- Train users. A one-page card and a short walk-through prevent most support calls. See Teams Rooms user guide.
Example kits by room size
| Room | Seats | Example |
|---|---|---|
| Huddle | 2-6 | Logitech Rally Bar Huddle + Tap IP |
| Small to medium | 6-12 | Logitech Rally Bar Mini + Tap IP, Poly Studio X52 |
| Medium to large | 10-20 | Logitech Rally Bar + Tap IP, Yealink MVC S50 |
| Large / boardroom | 16+ | Yealink MVC S80, Poly Studio 7 Room Compute based system |
Common mistakes
- Using a non-certified camera or speakerphone. It may work today but isn't supported. See Teams Rooms not certified error.
- Password expiry on the resource account. Breaks sign-in later.
- Calendar processing deleting the meeting body. Rooms show the meeting but no Join button.
- No wired network. Wi-Fi works but wired is more reliable for rooms.
- Forgetting BYOD. If guests need to use their laptops, choose hardware with BYOD mode or add HDMI ingest.
For the full process, see Teams Rooms setup guide and Teams Rooms requirements.
Converting several rooms at once? Send us the room list and we'll build a Teams Rooms bill of materials for each.
Related guides
- Microsoft Teams Rooms Hardware: What You Need
- Best Conference Cameras for Microsoft Teams Rooms
- How to Join a Google Meet from a Microsoft Teams Room
- How to Join Microsoft Teams Meetings from a Zoom Room
- How to Set Up Microsoft Teams Rooms: Step by Step
- Logitech Microsoft Teams Rooms Systems by Room Size
Outfitting several rooms, or reselling? Get a volume quote or apply for wholesale pricing →