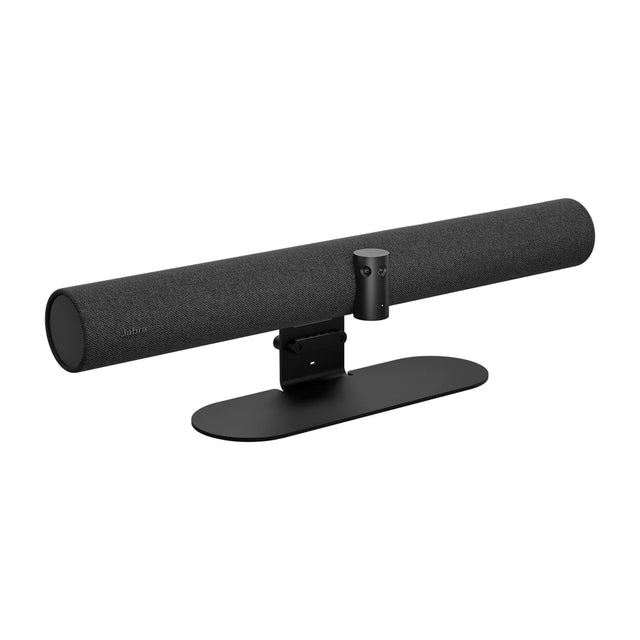
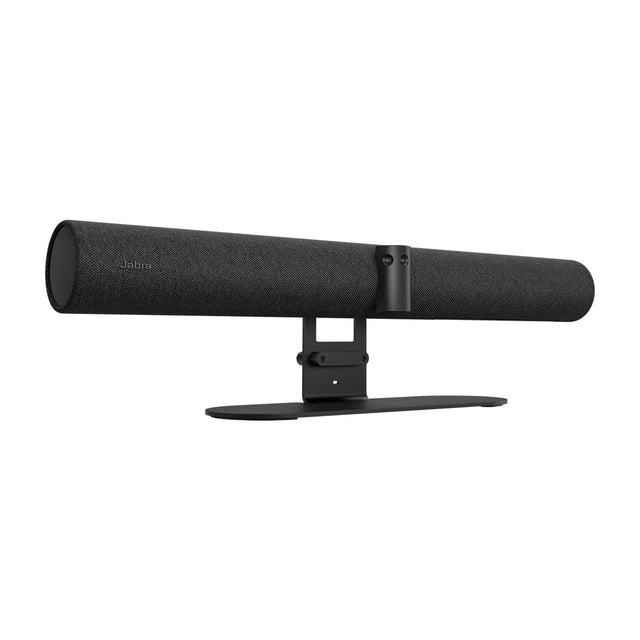
To set up a BYOD (bring your own device) room that works with any meeting app, mount a USB video bar at the display, connect the bar and display to a single cable at the table (ideally USB-C), and let people plug in their laptop and join from Teams, Zoom, Google Meet, Webex or any browser app. The laptop runs the meeting; the room provides the camera, microphones, speakers and screen.

What you need
| Part | Role | Examples |
|---|---|---|
| USB video bar | Camera, mics and speakers as one USB device | Logitech MeetUp 2, Jabra PanaCast 50, Poly Studio R30, Yealink UVC34 |
| Display | Commercial display or TV sized for the room | See conference room TV size |
| Table connection | One cable for video + USB | Logitech Swytch, Logitech Extend, Logitech Active USB Cable |
| Mount | Bar above or below the display | See video bar mount |
| Optional | Wireless sharing, expansion mic, power at the table | Yealink RoomCast E2 |
Steps
- Size the room. Count seats and measure the farthest seat from the display. Choose a bar whose field of view and mic pickup cover the room. See mic pickup range and how to measure a room.
- Mount the display and bar. Center the bar above the display (or below for small displays) at roughly seated eye level. See how to mount a camera above a TV.
-
Choose the table connection.
- One USB-C cable that carries video, camera, audio and possibly charging is the easiest for users. Logitech Extend and Swytch do this for longer runs.
- USB + HDMI cables work for any laptop but are two plugs to manage.
- USB bars with HDMI pass-through let one connection point handle both. See HDMI input on a video bar.
- Run and hide the cables to the table. Respect USB length limits; use active or extender cables. See how to extend USB 30 feet or more and how to hide conference room cables.
- Update the bar's firmware and set defaults (auto-framing on, volume) with the vendor's app.
- Test with each app your users run: Teams, Zoom, Meet, Webex. Check the bar appears as camera, mic and speaker in each.
- Post a quick-start card: plug in, select the bar in your meeting app's audio and video settings, extend or duplicate the display.
Tips for a smooth BYOD room
- Name the bar clearly so users pick the right device in their app.
- Keep an adapter tethered if you use HDMI and many users have USB-C only laptops.
- Mac users may need to grant camera and microphone access to each app.
- Docking quirks. Some laptops need the latest dock or display drivers for USB-C video.
- Add wireless sharing for people presenting without joining a call. See how to share content wirelessly.
BYOD only, or BYOD plus appliance?
A pure BYOD room has no room license or room calendar. If you also want one-touch join for internal meetings, choose a bar that runs Teams Rooms or Zoom Rooms and switches to USB mode when a laptop plugs in. See appliance mode vs USB mode and Teams Rooms vs BYOD.
Common mistakes
- Laptop speakers and mic still active, causing echo. Users must select the room bar in their app.
- Passive USB cables that are too long, causing the camera to drop out.
- Bar too high or too low, giving a forehead or table-top view.
- Undersized mics for long tables. Add expansion mics or step up a size.
- No instructions in the room. A one-page card prevents most support calls.
More: BYOD conference rooms, how to use a video bar with a laptop and how to set up a webcam and speakerphone huddle room.
Setting up BYOD rooms? Send us the room sizes and we'll put together a one-cable kit for each.
Related guides
- How to Set Up a Hybrid Meeting (Teams and Zoom)
- How to Use a Video Bar With a Laptop (USB and BYOD Mode)
- How to Set Up a Classroom Camera That Follows the Teacher
- How to Set Up a Telehealth Cart: Step-by-Step Guide
- Yealink RoomCast BYOD Conferencing with a USB Camera
- How to set up a conference room camera
Outfitting several rooms, or reselling? Get a volume quote or apply for wholesale pricing →