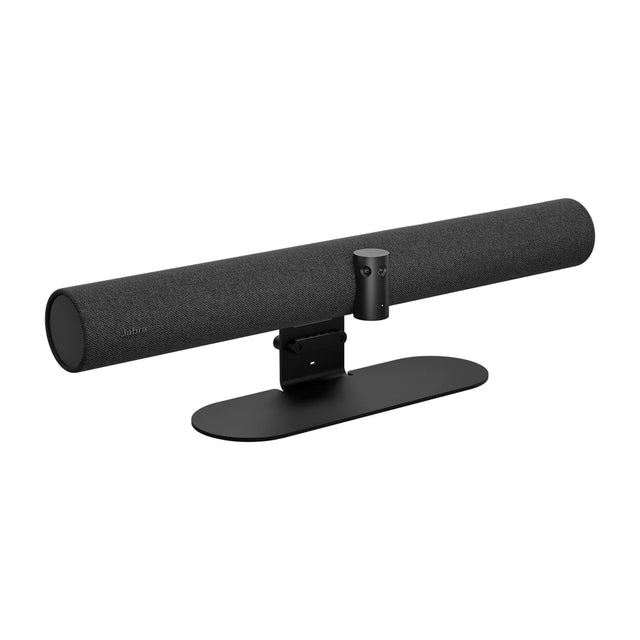
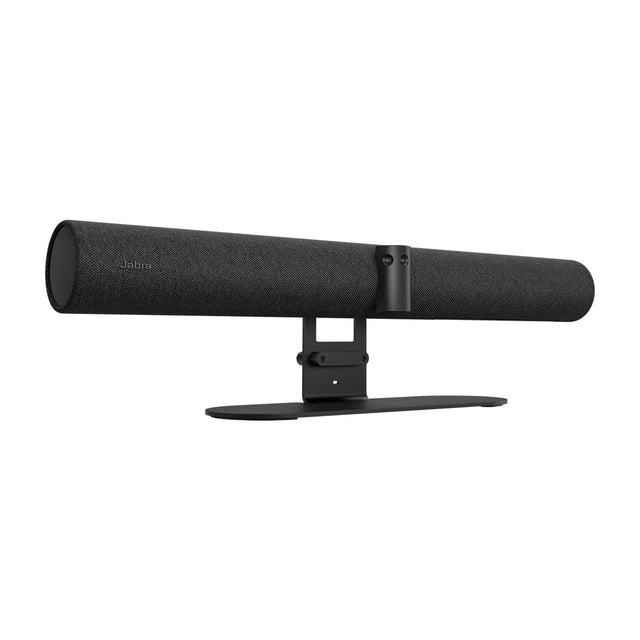
To use a video bar with a laptop, connect the bar's USB cable to the laptop, connect the laptop (or the bar) to the room TV by HDMI, then open Zoom, Teams or Google Meet and select the video bar as your camera, microphone and speaker. USB video bars work as plug-and-play devices on Windows and macOS, with no drivers needed for basic use.

Two kinds of video bars
| Type | How it works with a laptop | Examples |
|---|---|---|
| USB video bar | Always runs from the laptop over USB | Logitech MeetUp 2, Jabra PanaCast 50, Poly Studio R30, Neat Bar |
| Appliance bar with BYOD mode | Runs Teams/Zoom on its own, switches to USB mode when a laptop connects | Logitech Rally Bar, Poly Studio X52, Neat Bar Gen 2 |
Step by step
- Power the video bar and wait for it to finish starting up.
- Connect USB. Plug the bar's USB cable into your laptop. Use a USB 3.x port where possible; 4K bars may limit resolution on USB 2.0. See USB 3.0 vs USB 2.0 for cameras.
- Connect the display. Run HDMI from the laptop to the TV. Some bars and extenders carry video to the TV over the same cable (see below).
- Set up the display. On Windows press Win+P and choose Extend or Duplicate. On a Mac use System Settings > Displays.
- Open your meeting app. Join or start the meeting.
- Select devices. In the app's audio and video settings, choose the video bar for camera, microphone and speaker. Don't leave the speaker on the laptop or TV, or echo cancellation won't work properly.
- Check framing and volume. Make sure everyone is in frame and set volume from the bar or the app.
- Share content using the meeting app's share button.
One-cable setups
Running a USB cable and an HDMI cable to the table works, but many rooms use one cable:
- Logitech Active USB Cable: 5 m USB-C with DisplayPort Alt Mode for one-cable BYOD on supported bars and laptops.
- Logitech Swytch: connects a laptop to a room PC's camera and display, so the same room works as a Teams or Zoom Room or as BYOD.
- Logitech Extend: single USB-C cable at the table, up to 100 m of category cable to the display side, with optional laptop charging.
- Yealink MVC-BYOD-Extender: adds a laptop mode to Yealink Windows Teams Rooms.
Your laptop's USB-C port must support DisplayPort Alt Mode for video over USB-C.
Common mistakes
- Wrong speaker selected. The most common cause of echo. Select the bar as speaker and mic. See fix echo on conference calls.
- Laptop camera still active. Choose the bar's camera, then close the laptop lid if you're using an external display.
- USB hub or dock in the middle. Some docks can't handle 4K camera bandwidth. Plug in directly if the camera drops out.
- Laptop audio going to the TV. If HDMI audio is the default, the TV may play meeting sound. Set the default output to the bar.
- Expecting appliance features. On an appliance bar in USB mode, Teams Rooms or Zoom Rooms features don't apply; your laptop's app is in charge.
For more on BYOD rooms, see how to set up a BYOD room for any meeting app and BYOD conference rooms. If the camera isn't detected, see conference room camera not working.
Want a room anyone can walk into with a laptop? Tell us the room size and we'll suggest a bar and cabling.
Related guides
- Yealink RoomCast BYOD Conferencing with a USB Camera
- How to Set Up a BYOD Meeting Room That Works With Any App
- Appliance Mode vs USB Mode: Video Bar Modes Explained
- BYOD Conference Rooms: How They Work and What to Buy
- Best USB conference cameras for BYOD rooms
- Apple TV Conference Room Display Mode: Setup and Exit
Outfitting several rooms, or reselling? Get a volume quote or apply for wholesale pricing →