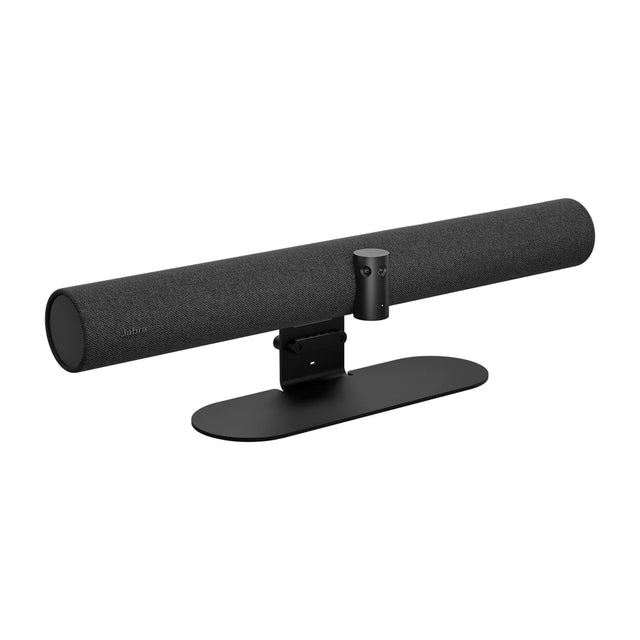
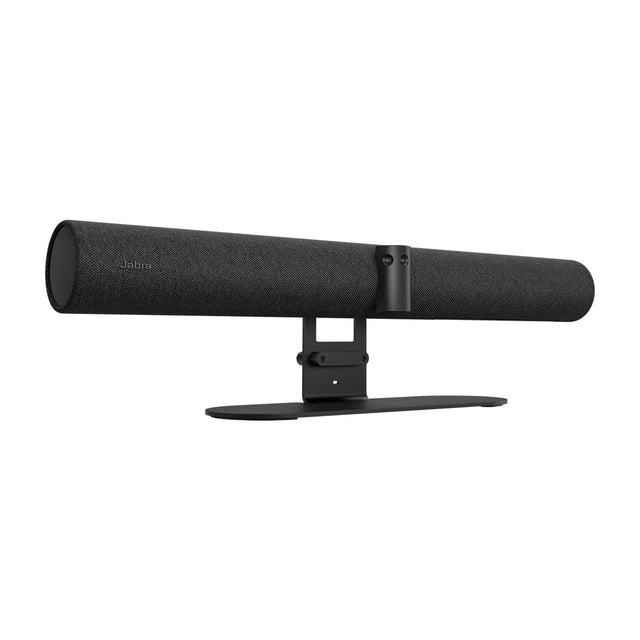
How to set up the Logitech Scribe, from unboxing to a working test. It shares a physical whiteboard as a content feed through the Rally Bar, Rally Bar Mini and RoomMate, or into any app over USB.

Before you start: check the box
- Camera
- Share Button
- Dongle Transceiver
- 100-240V power supply with international adaptor set
- 5.0 m Cat5e cables x 2
- Cable clips x 2
- Camera installation kit
- Documentation
What you need
- Ports on the Scribe: Interface: Category cable port.
- For USB mode: a laptop or room PC with a free USB port that matches the included cable. Plug directly into the computer rather than through a hub where possible.
- Power: 100-240V auto-switching power supply.
Step by step
-
Mount it facing the board. Mount it on the wall opposite or above the whiteboard, using the bracket in the box and the distance range in the user guide, so it sees the whole board straight on. See Scribe mounting and placement.
-
Connect power and cables. Connect the power cord. Then connect the cables your setup needs (Interface: Category cable port). Use the cables in the box first; long runs may need the manufacturer's extender.
-
Add it to the room system. With the host powered on, the Scribe is detected automatically. Check the host's settings or admin portal lists it, then set it as a content camera.
-
Set up USB mode. Connect the Scribe to the computer by USB. In Teams, Zoom or Meet, open the device settings and select the Scribe as the camera.
-
Update the firmware. CollabOS devices (Rally Bar family, MeetUp 2, RoomMate, Tap IP/Tap Scheduler) run CollabOS and are updated through Logitech Sync Portal or the room platform's own update path (Logitech publishes a Google, Microsoft & Zoom Room Update Guide). See Updating the firmware below.
-
Test the whiteboard feed. Write on the board, share it in a test meeting and ask the far end whether they can read it from the full board area.
Updating the firmware
CollabOS devices (Rally Bar family, MeetUp 2, RoomMate, Tap IP/Tap Scheduler) run CollabOS and are updated through Logitech Sync Portal or the room platform's own update path (Logitech publishes a Google, Microsoft & Zoom Room Update Guide). Devices attached by USB to a room PC are updated with the Logitech Sync app (select the device, install the available update, reboot the host). Do not unplug power.
Tools:
-
Logitech Sync Portal (cloud): inventory, remote settings, firmware updates and Local Network Access toggling for room devices
-
Local Network Access (LNA): on-device HTTPS web UI for CollabOS devices (CollabOS 1.6+)
-
CollabOS on-device system settings: reachable from the touch controller, remote or hardware button in appliance mode
-
Don't unplug power or USB while an update runs.
-
Close Teams, Zoom and other apps that use the device before updating it from a computer.
-
Update one room first, test a call, then roll out to the rest.
Manual and documentation
Logitech's user manual for the Scribe: open the PDF. Check it for exact port diagrams and admin settings for your firmware version; more guides are on the Logitech support site.
If something doesn't work
Start with Scribe troubleshooting. Want it done for you? We plan rooms and ship them ready to install. Get a quote.
More Scribe guides
- Scribe buyer's guide: specs and price
- Scribe: troubleshooting
- Scribe: mounting and placement
- Scribe: Teams, Zoom and Google Meet
- Scribe: price and total room cost
- Scribe: full specs
- Scribe: accessories
- Scribe: factory reset
- All Logitech conference cameras compared
Related guides
Outfitting several rooms, or reselling? Get a volume quote or apply for wholesale pricing →