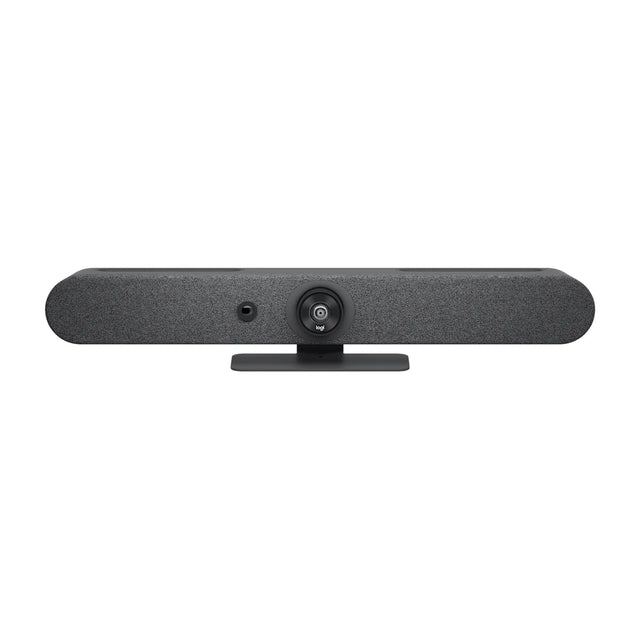
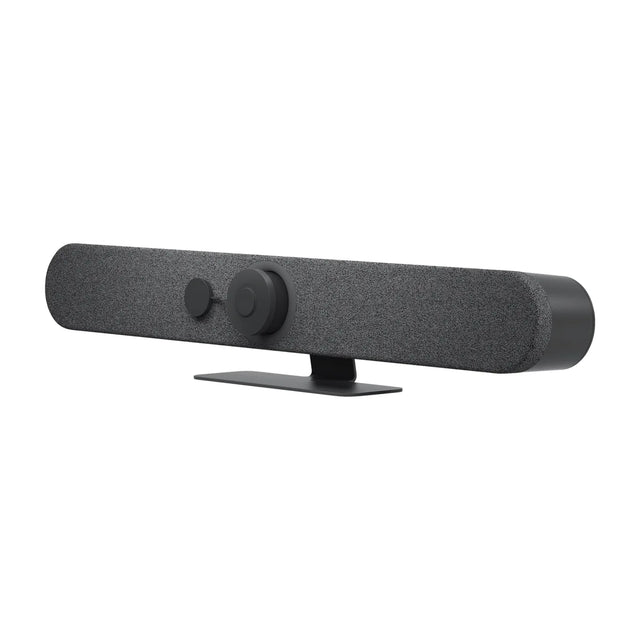
To set up a Logitech conference room camera, mount it centered above or below the display, connect it to power and to either a computer by USB (BYOD or PC-based rooms) or to the network and display (Rally Bar appliance rooms), then select it as the camera, mic and speaker in Teams, Zoom or Meet, or sign the appliance in to your meeting platform. Finish by updating firmware with Logitech Sync and testing a call.

Step 1: Pick the setup type
| Setup | Logitech devices | How it works |
|---|---|---|
| USB / BYOD | MeetUp 2, Rally Bar, Rally Bar Mini, GROUP, ConferenceCam Connect | A laptop or room PC runs the meeting app and uses the camera over USB |
| PC-based room | Any of the above + room PC + Tap | Dedicated PC runs Teams Rooms or Zoom Rooms |
| Appliance | Rally Bar + Tap IP, Rally Bar Mini + Tap IP, Rally Bar Huddle + Tap IP | Bar runs Teams Rooms, Zoom Rooms or Google Meet itself; no PC |
Step 2: Mount the camera
- Center the bar or camera on the display, above or below it.
- Height: aim for roughly seated eye level. Below the TV is often better in small rooms; above is common when the TV is low.
- Use the right mount: TV Mount for Video Bars, Wall Mount for Video Bars, Rally TV Mount 2 for Rally Bar 2 and AI cameras, or the Rally Bar 2 Table Stand on a credenza.
- Check the view: the nearest seats should be inside the frame.
See Logitech video bar mounts and camera placement.
Step 3: Connect the cables
USB / BYOD bar (for example MeetUp 2 or Rally Bar in USB mode)
- Connect the power supply.
- Run the USB cable to the laptop or room PC. For longer runs, use Logitech's Strong USB or Active USB Cable.
- Connect the PC's HDMI to the display.
- For a one-cable BYOD connection at the table, add Logitech Swytch or Logitech Extend.
Appliance bar (Rally Bar family with Tap IP)
- Connect the bar's HDMI out to the display.
- Connect the bar to the network (Ethernet recommended).
- Connect the Tap IP to a PoE port on the same network.
- Power on. The Tap IP and bar pair over the network.
GROUP or Rally modular system
- Connect the camera and speakerphone (GROUP) or camera, speakers and mic pods via the display hub and table hub (Rally Plus).
- Run USB from the hub to the PC.
Wiring diagrams: Logitech conference room wiring.
Step 4: First-time setup
USB mode
- Install Logitech Sync on the PC (optional but recommended) to update firmware and adjust settings.
- In Teams, Zoom or Meet, select the Logitech device for camera, microphone and speaker.
- Choose the camera's framing mode (for example RightSight auto-framing) in Sync or the Logitech app.
Appliance mode
- Follow the on-screen setup on the Tap IP: language, network, time zone.
- Choose the platform: Microsoft Teams Rooms, Zoom Rooms or Google Meet.
- Sign in with the room's account. For Teams, create the resource account and license first. For Zoom, use the activation code.
- Let the device download updates before the first meeting.
Step 5: Add mics and accessories
- Add Rally Mic Pods for seats beyond the bar's range, or Rally Mic Pod 2 for Rally Bar 2 and Rally Board 65.
- Mount the Tap or Tap IP with the Table Mount or Riser Mount.
- Add Logitech Scribe for whiteboard sharing or Logitech Sight for a tabletop second view.
Step 6: Test
- Join a test call from a second device in another room.
- Speak from the farthest seat. Check the remote side hears clearly with no echo.
- Share content and check the display.
- Walk around the room and confirm auto-framing behaves.
See how to test a video conferencing system. If something's off, see Logitech camera not working.
Product-specific steps: Rally Bar setup, MeetUp 2 setup, GROUP setup. For the full lineup, see Logitech video conferencing.
Want your Logitech room right the first time? Send us the room details and we'll spec the bar, mounts and cables.
Related guides
Outfitting several rooms, or reselling? Get a volume quote or apply for wholesale pricing →