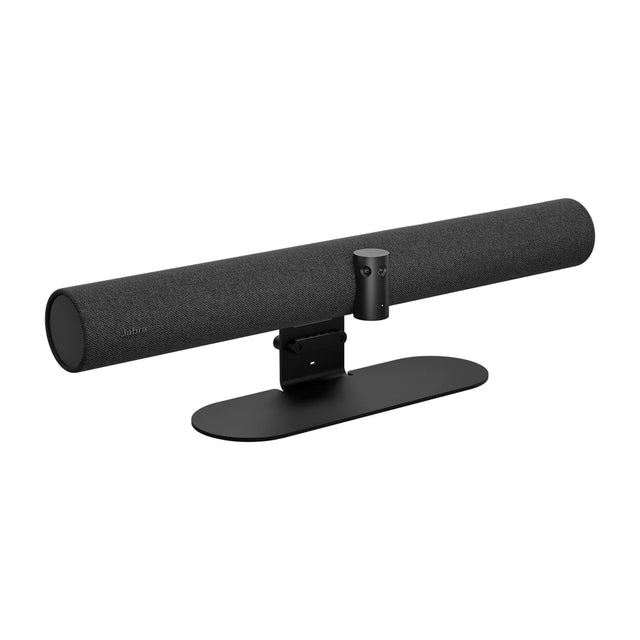
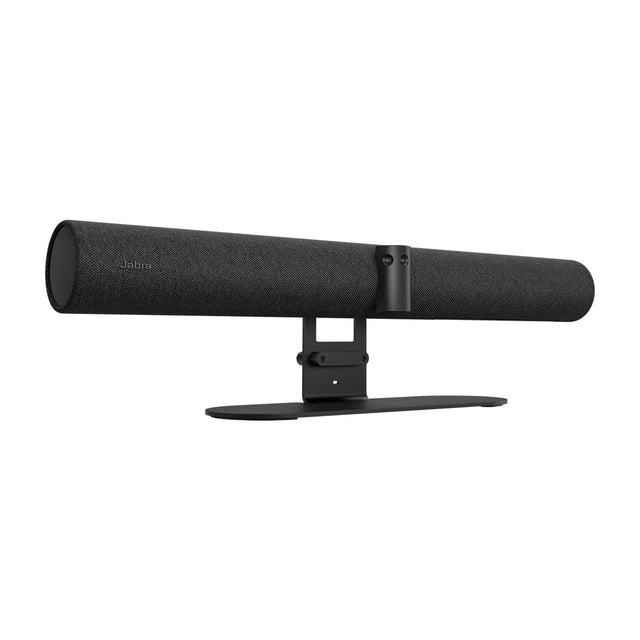
Where and how to mount the Logitech GROUP: supported options, placement and the mounts that fit.

Mounting options
In the box: mount.
The right height and position
- Center it on the display. Above the screen is most common; below works when the screen is mounted high.
- Aim for eye level. The closer the camera is to seated eye level, the more natural people look on screen.
- Mind the distance. People at the far end of the table should still be in frame (field of view: 82° horizontal).
- Keep it level and clear. Nothing in front of the lens or microphones, and no window behind the people being filmed.
Above or below the TV?
Above is the default for most rooms, because the camera sees over the table. Below the TV works if the screen is high on the wall, but keep the bar's speakers and microphones unobstructed. Check the GROUP user guide for the minimum clearance.
Running the cables
Plan the cable path before you drill: power and network at the mounting point, and a conduit or floor box to the table if there's a controller or table mic. The GROUP connects via: Cabling: 5 m camera and speakerphone cables (10 m and 15 m available), 2 m USB to PC.
More GROUP guides
- GROUP buyer's guide: specs and price
- GROUP: setup guide
- GROUP: troubleshooting
- GROUP: firmware updates
- GROUP: Teams, Zoom and Google Meet
- GROUP: what room size it covers
- GROUP: price and total room cost
- GROUP: full specs
- GROUP: alternatives compared
- GROUP: accessories
- All Logitech room kits compared
Related guides
Outfitting several rooms, or reselling? Get a volume quote or apply for wholesale pricing →