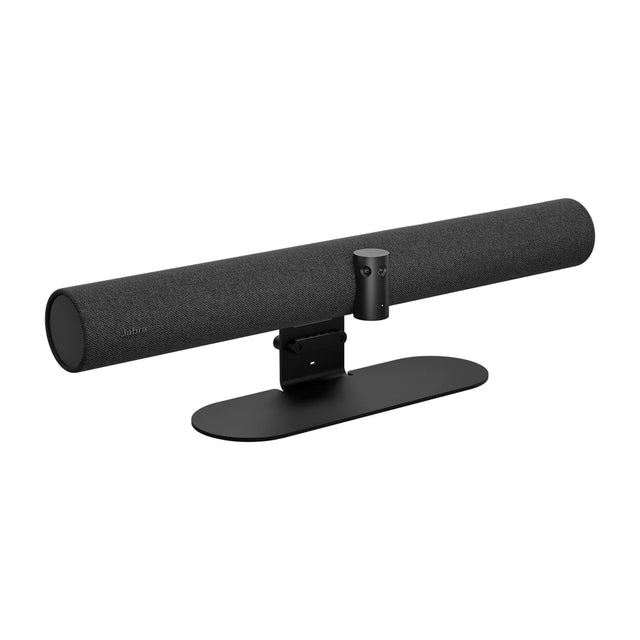
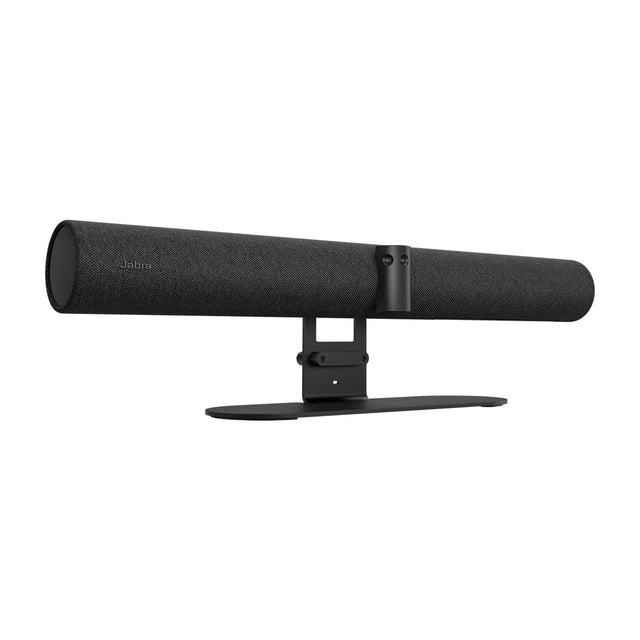
How to set up the Cisco Room Kit EQX, from unboxing to a working test. It works two ways: as an appliance that runs Teams Rooms, Zoom Rooms or another platform on the device itself, or in USB mode connected to a laptop or room PC, so it works with any meeting app.

Before you start: check the box
- Codec EQ
- Quad Camera
- Natural Audio Module IV amplifier
- 6 loudspeakers and 1 bass unit
- Room Navigator with table stand
- Mounting unit
- Power adapters
- Ethernet cable, 12 m
- Internal cabling
What you need
- Ports on the Room Kit EQX: Video inputs: 3x HDMI (up to 4K30), 1x USB-C (up to 4K30); Video outputs: 3x HDMI 2.0 (up to 4K60); Network: Gigabit LAN, 4x PoE++ (90 W), Wi-Fi, Bluetooth 5.2 (radio models).
- For appliance mode: a wired Ethernet drop (recommended over Wi-Fi), a display with HDMI input, a touch controller, and a Webex or Teams account and license for the room.
- For USB mode: a laptop or room PC with a free USB port that matches the included cable. Plug directly into the computer rather than through a hub where possible.
Room Kit EQX at a glance
- Camera: Quad Camera, 4 sensors up to 20 MP each, 1080p60
- Microphones: Up to 8 Cisco IP or AES67 mics (more than 3 needs AV Integrator license)
Step by step
-
Pick the position. Center the camera on the main display, just above or below the screen, at roughly seated eye level so people look at the camera when they look at the screen. Supported mounting: Wall mount, wall stand or floor stand versions. See Room Kit EQX mounting and placement.
-
Connect power and cables. Connect the power adapter (or a PoE port, if you'd rather run one cable). Then connect the cables your setup needs (Video inputs: 3x HDMI (up to 4K30), 1x USB-C (up to 4K30); Video outputs: 3x HDMI 2.0 (up to 4K60); Network: Gigabit LAN, 4x PoE++ (90 W)). Use the cables in the box first; long runs may need the manufacturer's extender.
-
Set up appliance mode. Follow the on-screen setup to choose the platform (Teams Rooms, Zoom Rooms or other) and sign in with the room's account.
-
Set up USB mode. Connect the Room Kit EQX to the computer by USB. In Teams, Zoom or Meet, open the device settings and select the Room Kit EQX as the camera, microphone and speaker.
-
Update the firmware. Update to the latest firmware before you go live. See Updating the firmware below.
-
Run a test call. Join a test meeting, check framing from every seat, speak from the far end of the table, and have the remote side confirm they hear you clearly with no echo.
Updating the firmware
Update to the latest firmware before you go live, using the manufacturer's app or the device's settings.
- Don't unplug power or USB while an update runs.
- Close Teams, Zoom and other apps that use the device before updating it from a computer.
- Update one room first, test a call, then roll out to the rest.
Manual and documentation
Cisco's product page for the Room Kit EQX: documentation and downloads. Check it for exact port diagrams and admin settings for your firmware version.
If something doesn't work
Start with Room Kit EQX troubleshooting. Want it done for you? We plan rooms and ship them ready to install. Get a quote.
More Room Kit EQX guides
- Room Kit EQX buyer's guide: specs and price
- Room Kit EQX: troubleshooting
- Room Kit EQX: mounting and placement
- Room Kit EQX: Teams, Zoom and Google Meet
- Room Kit EQX: what room size it covers
- Room Kit EQX: price and total room cost
- Room Kit EQX: full specs
- Room Kit EQX: alternatives compared
- Room Kit EQX: accessories
- All Cisco room kits compared
Related guides
Outfitting several rooms, or reselling? Get a volume quote or apply for wholesale pricing →