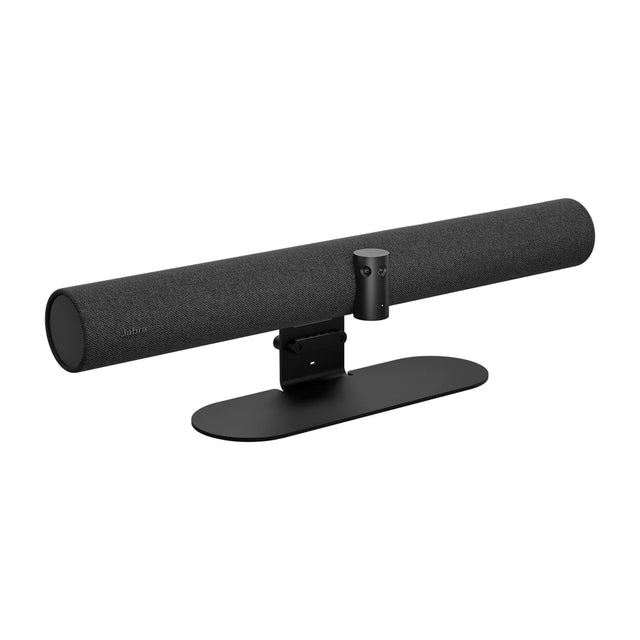
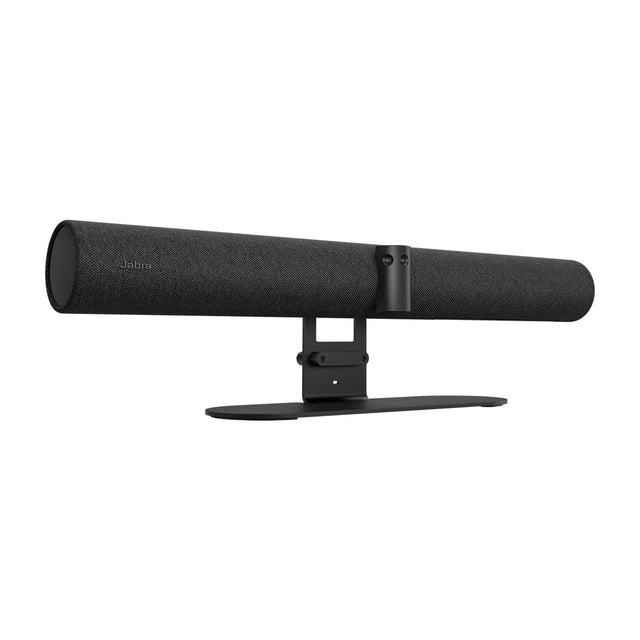
Where and how to mount the Cisco Board Pro 75 G2: supported options, placement and the mounts that fit.

Mounting options
In the box: wall mount kit (not included if a floor or wall stand is ordered).
Placement
- Put it where everyone can see it and the built-in camera can see everyone: usually the end wall opposite the door.
- Keep the screen out of direct sunlight to avoid glare.
- Leave space around it for people to walk up and write.
- Check the wall and the mount are rated for its weight (72 kg (board only)).
Running the cables
Plan the cable path before you drill: power and network at the mounting point, and a conduit or floor box to the table if there's a controller or table mic. The Board Pro 75 G2 connects via: Video inputs: USB-C (DisplayPort Alt Mode, up to 4K60), HDMI 2.0 (up to 4K60); Video outputs: 2x HDMI 2.0 (up to 4K60); Network: Gigabit LAN, PoE port for Room Navigator; USB-C charging: Up to 60 W.
More Board Pro 75 G2 guides
- Board Pro 75 G2 buyer's guide: specs and price
- Board Pro 75 G2: setup guide
- Board Pro 75 G2: troubleshooting
- Board Pro 75 G2: Teams, Zoom and Google Meet
- Board Pro 75 G2: what room size it covers
- Board Pro 75 G2: price and total room cost
- Board Pro 75 G2: full specs
- Board Pro 75 G2: alternatives compared
- Board Pro 75 G2: accessories
- All Cisco collaboration boards compared
Related guides
Outfitting several rooms, or reselling? Get a volume quote or apply for wholesale pricing →